Philippa Moore Blog — Philippa Moore

This site uses cookies to give you the best possible experience. By continuing to use this site, you agree to our cookie policy.

Philippa Moore

silken tofu summer breakfast bowl

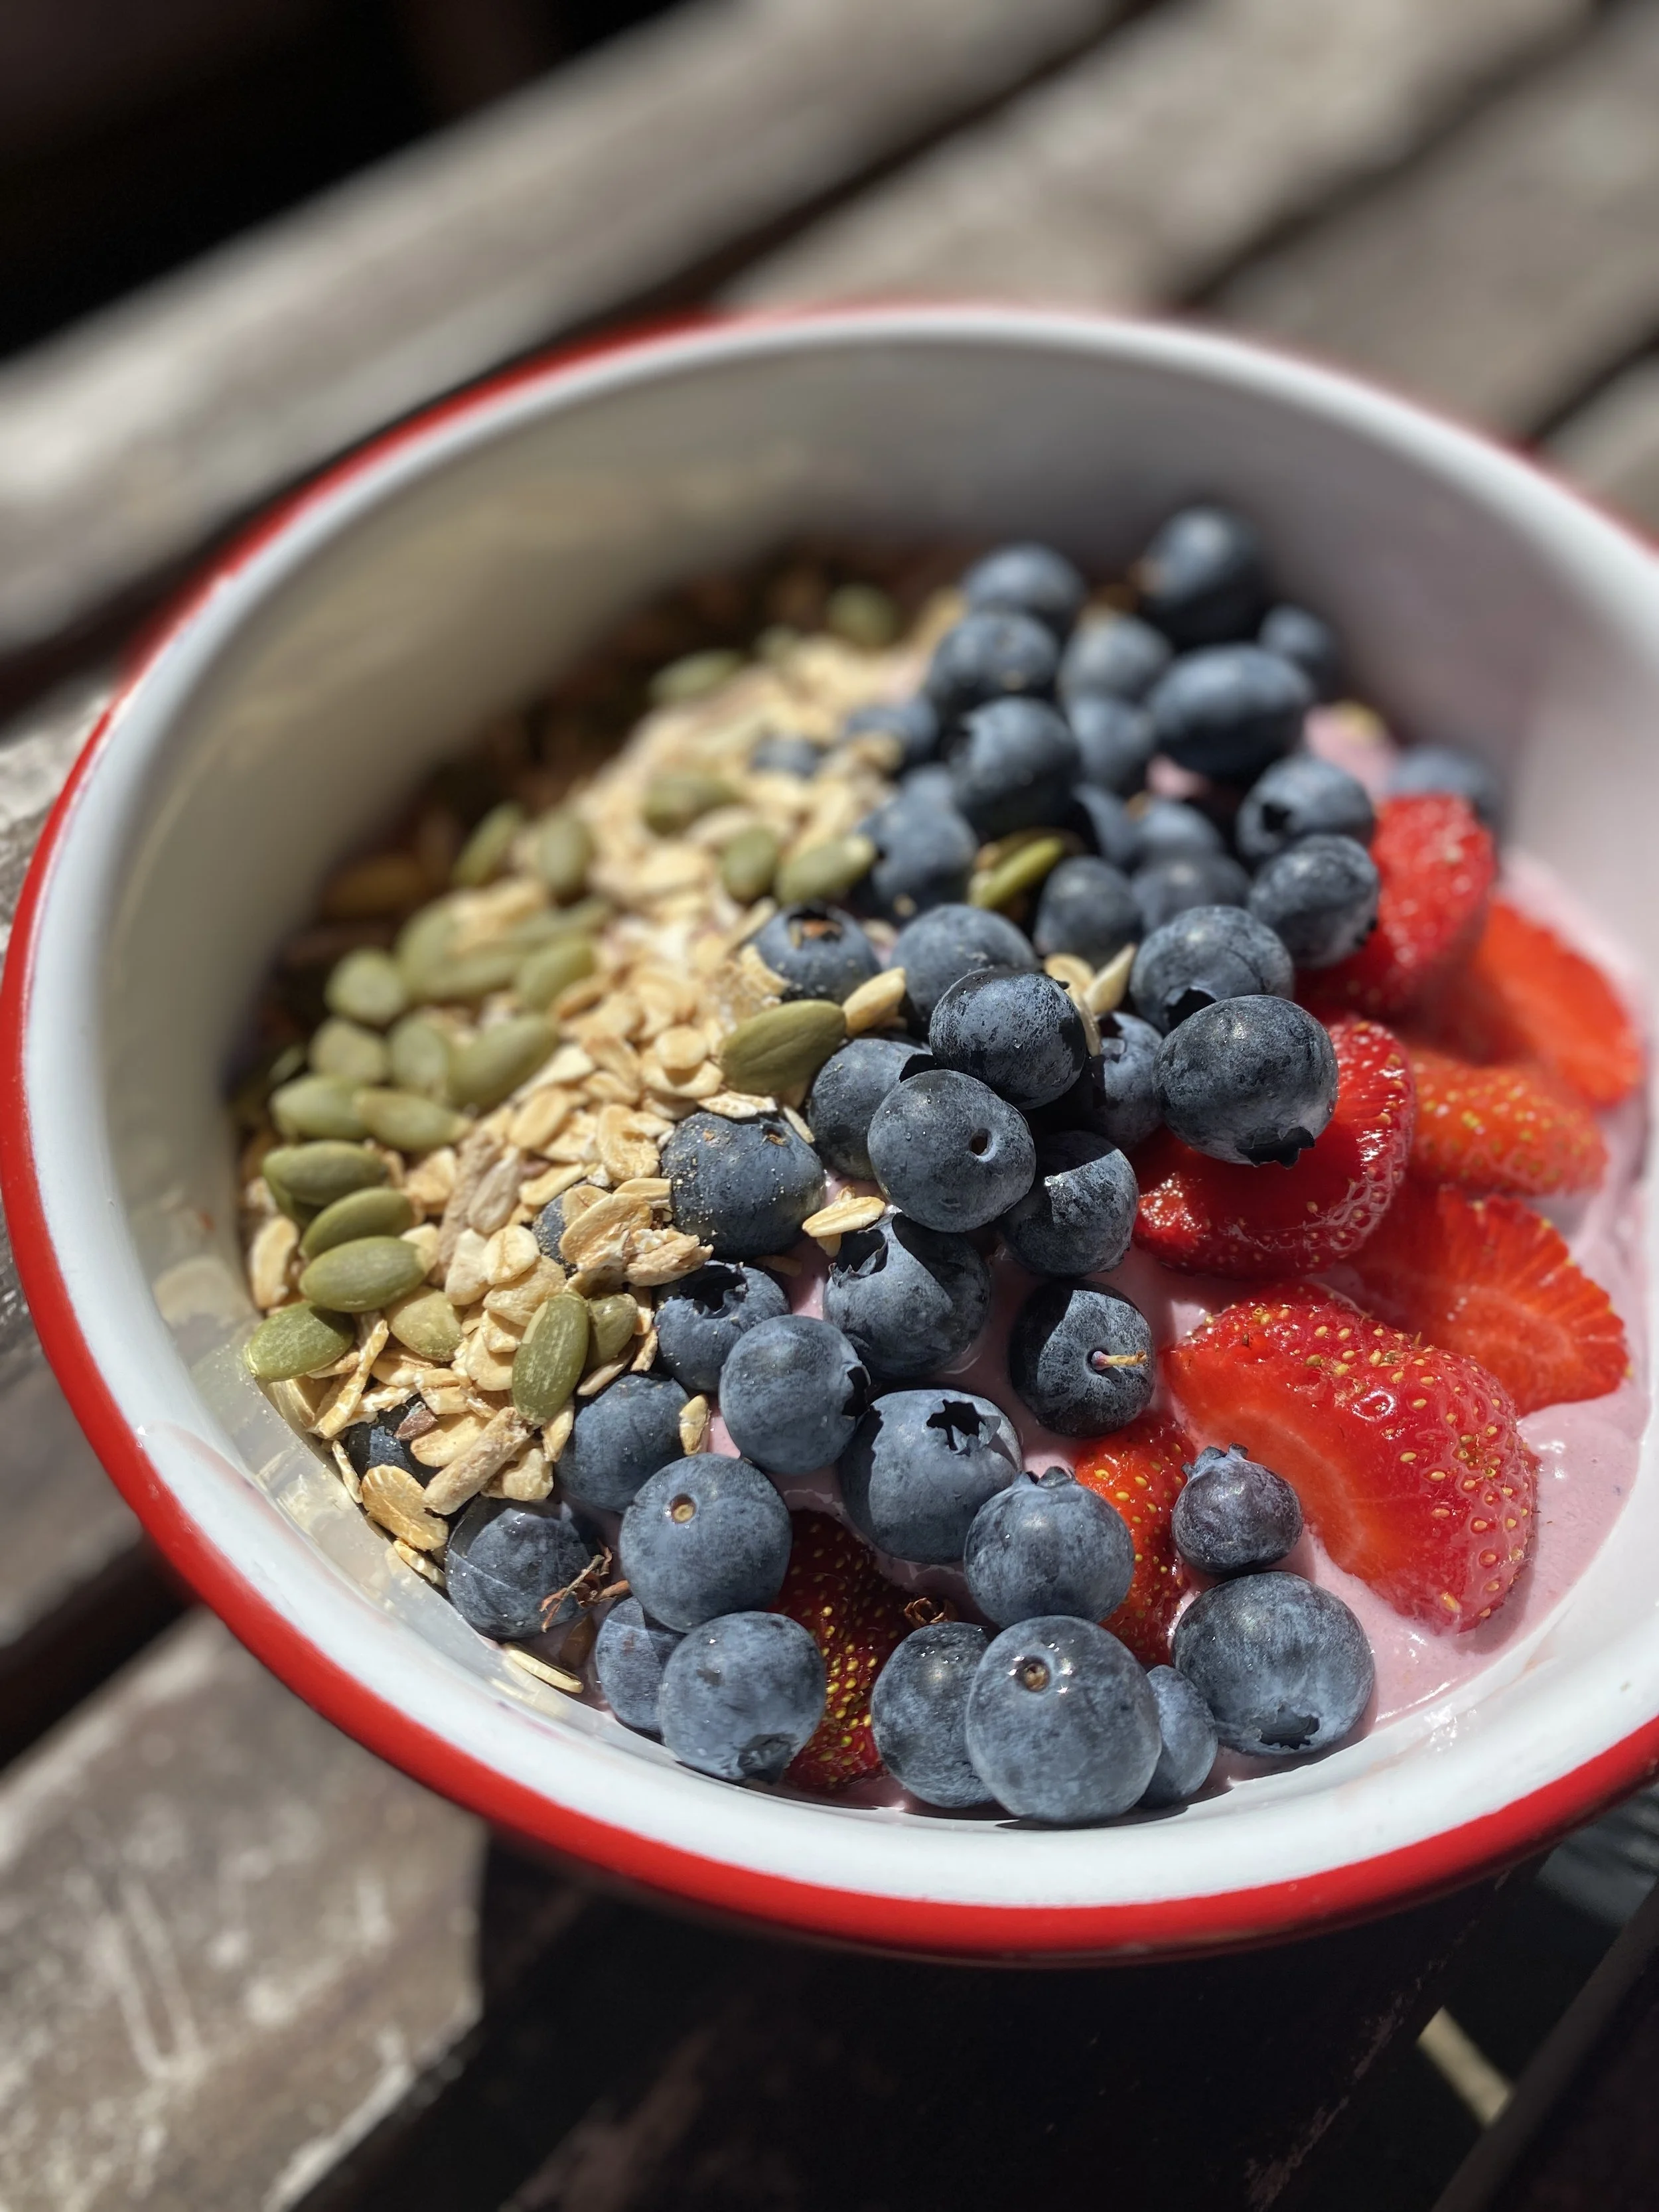
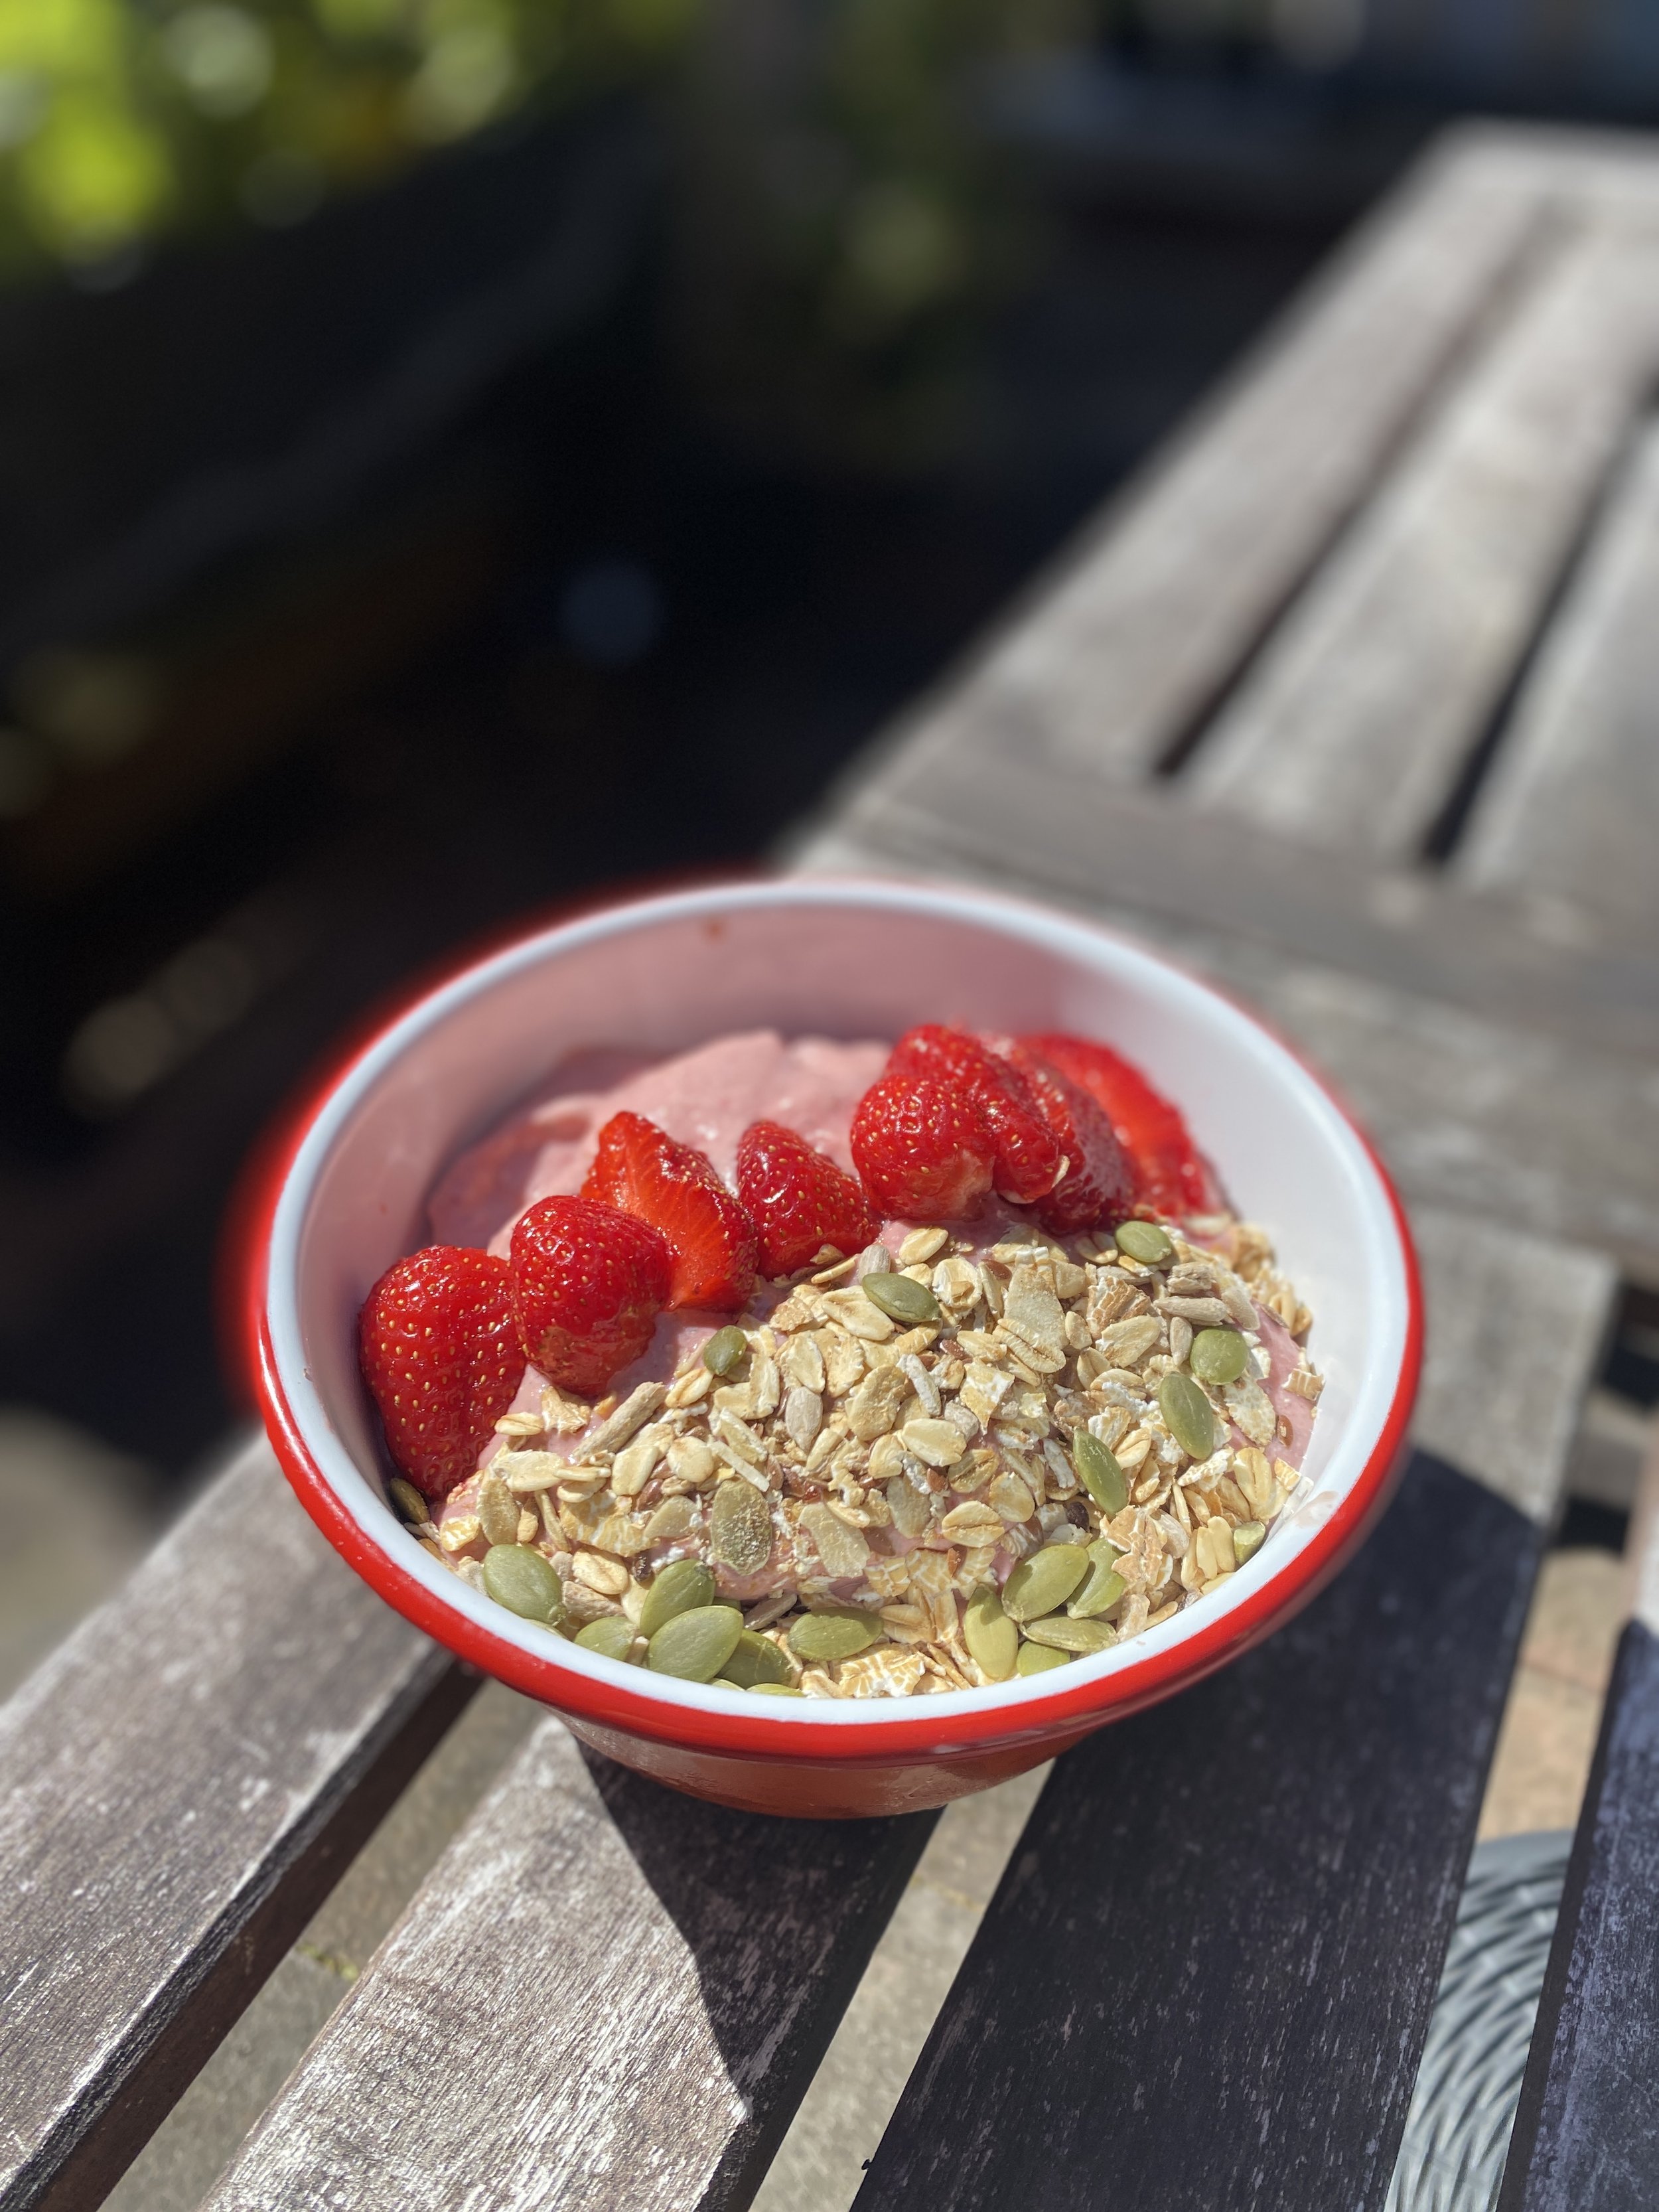
This is the most heavenly breakfast on a baking hot summer’s morning, particularly if you’ve just been a for a run or walk and need both protein and to cool down!

Silken tofu is the secret ingredient here, which results in a delicious and protein-rich alternative to yoghurt. You can load up your bowl with seasonal fruits and granola/muesli/seeds as you like. I tend to do a combination of both, as you can see.

The strawberries and blueberries are all homegrown, by the way!

Silken tofu summer breakfast bowls

Serves 2

1 x 300g pack of silken tofu (I tend to use Woolworths Macro brand)
150g frozen bananas
150g other frozen fruit (I most often use mango, blueberries and strawberries, but sometimes I’ve used apricots, pineapple and cherries. Alternatively just use 300g frozen bananas + handful of fresh fruit )
A handful of fresh fruit - optional - I usually put in a handful of fresh blueberries or strawberries from the garden that are fine to eat but a little wart-like in appearance
20g peanut or almond butter
Fresh seasonal fruit, to serve
Muesli, granola or nut/seed mix, to serve

It couldn’t be simpler - but you will need a powerful blender for this recipe, something that can basically crush ice. I’ve not tried it in my food processor but I can imagine it would produce similar results, you might just have to pause and scrape down the sides. My blender came with a special prodding stick, so you can “stir” the mixture as it blends, if anything gets stuck (and it usually does).

Open and carefully drain the excess liquid away from your silken tofu. Don’t worry if there’s still a little bit. Once you’ve done this you can either invert it on to a plate, or leave it in the container (which is what I do!), and use a small sharp knife to cut the tofu into rough cubes.

Place the silken tofu cubes in the blender first, and then add the rest of the ingredients. Adding the tofu first really helps the mixture blend better, as it turns to liquid that then draws all the other ingredients in!

If you have a digital scale, it’s even easier. I just place the empty blender jug on the scale, add the silken tofu, then reset the scale to zero and add the rest of the ingredients.

A note on the fruit: use whatever you’ve got and enjoy the combination of. It’s important that at least half the mixture is frozen fruit, as the more frozen fruit you use the thicker it will be (and I like it thick so I mostly use all frozen fruit with a bit of fresh as an extra). I only tend to buy frozen fruit when it’s on special, as it’s quite expensive these days. When bananas are in season and cheap, I buy several kilograms and freeze them. That way, I always have some frozen fruit on hand for a smoothie or for this breakfast bowl.

Place the lid on and blend until the ingredients become a thick smooth mixture, a bit like soft ice cream. If you have a prodding stick, like me, you can keep the blender running and prod the pesky bits from the sides (but be careful!). Otherwise, pause and scrape down the sides of the blender as needed. If it’s not blending, stop, and rearrange the ingredients, maybe add a touch of water or soy milk. As mentioned, adding the tofu first seems to avoid this.

Stop once everything is well combined and there are no remaining chunks of unblended frozen fruit. Keep an eye on it because if you like it thick, you’ll want to stop once everything is blended - the longer you blend, it will lose its thickness.

Once ready, pour (with the assistance of a spoon/spatula) into two waiting bowls (which you could also have chilling in the freezer, if it’s a particularly hot day).

Scatter the top with fresh seasonal fruit and muesli/granola/nuts/seeds. Eat!

Best enjoyed sitting in your garden in the sun, soaking up the delicious headiness of summer. Memories of winter porridge will feel very distant indeed.

And I promise you, you can’t taste the tofu!

vegan gingerbread truffles

I made these as gifts for our clients, neighbours, friends and family at Christmas and they were a HIT!

I was inspired by this Fix and Fogg recipe, whose nut butters I’m a huge recent fan of, but I had some Biscoff spread I wanted to use up, to make these slightly more indulgent for Christmas. I had planned to make the entire recipe with Biscoff but ended up not having enough, so made up the difference with peanut and almond butters (I’ve written the recipe as 50/50 but my batch was more like 60/40). As long as you have 2 cups in total of spreads (you can use all the same one if you prefer), that should be fine! They still managed to taste pretty healthy though (to my mind!). This is also the perfect opportunity to use up any special Christmas pudding/cake spice mixes you might have lying around. Anything cinnamon-based will be delicious here.

Everyone loved these truffles and I will be making them again for a healthy(ish) treat to have around the house for the rest of the summer going into autumn. I highly recommend keeping them in the freezer if it’s warm where you are, as they do grow soft quite quickly!

Vegan gingerbread truffles

Makes between 45-50 truffles, depending on size! I got 48.

1 cup medjool or dried dates + boiling water to cover
2 cups rolled oats
3 tablespoons pumpkin seeds (pepitas) or pistachios, (optional, they just look lovely!)
1 teaspoon sea salt
4 teaspoons ground cinnamon or a Christmas/pumpkin pie spice blend you might have (I had some Gewurzhaus St Nicholas Spekulaas which was really delicious here!)
3 teaspoons ground ginger (you could up it to 4 teaspoons if you want a strong ginger flavour)
1 cup Biscoff spread
1 cup other nut butter (I used a mixture of almond and peanut)
2 tablespoons molasses or black treacle (molasses is a great iron source!)
2 tablespoons water
2 teaspoons vanilla extract

Coating:

200g dark chocolate 
5 tablespoons coconut oil
A sprinkling of demerara sugar (optional)


Soak the dates in boiling water for five to ten minutes until softened. 

Place the oats, pumpkin seeds/pistachios (if using), salt and spices in a food processor and pulse for about 20 seconds until combined.

Drain the dates and add them to the food processor together with the spreads, molasses, water and vanilla. Process again until well combined, pausing to scrape down the sides as necessary. It should be sticky and holding together well. If it’s too dry add a bit more water. If it’s too wet, you can add some ground almonds.

Roll the mixture into small balls and place on a large baking tray. Place them in the freezer for an hour to firm up.

Meanwhile, melt the dark chocolate and coconut oil together gently either in the microwave or on the stove using a heatproof bowl. Make sure it’s combined and then take it off the heat. Allow to cool only very slightly, as you need the mixture to be liquid for dipping the truffles.

Retrieve your truffle tray from the freezer. Get another empty baking tray and line it with baking paper. Using either a teaspoon or a strong toothpick/bamboo skewer, dip each truffle into the melted chocolate mixture, coating all over, then place back on the tray. Repeat until all the truffles have been dipped. The first truffles may get a more generous coating than the others, that’s just the way of things! Save those as a cook’s treat.

If liked, sprinkle the truffles with demerara sugar before the chocolate has set. Return to the freezer or fridge to set completely, at least overnight but ideally for a few days before you need them.

Enjoy straight from the fridge or freezer, all year round! Perfect to serve with coffee, in the morning or after dinner.

incredible vegan oreo brownies

Healthy? No way, unless the presence of chia seeds cancels everything else out (I don’t think it does, sorry!)

Incredible? YES.

Worth making to treat your fabulous self? HELL YES.

These were a road-test for the family Christmas and needless to say, they will be making an appearance! If you’re making this for gluten-free loved ones, simply sub the flour for a GF plain flour (or buckwheat flour) and the Oreos for a GF alternative.

Incredible vegan oreo brownies

2 tablespoons chia seeds
110g coconut oil, melted
240g dark brown sugar
80ml maple syrup
3 tablespoons almond butter (or peanut butter)
60g cocoa powder
85g plain flour
1 teaspoon vanilla extract
1/2 teaspoon sea salt
1/4 teaspoon apple cider vinegar
1/2 teaspoon bicarb soda
10 Oreos (check the pack if you’re making this for vegans - the Oreos you can buy in Australia are vegan but that might not be the case everywhere), snapped into pieces
Roughly 12 squares of dark chocolate (I used Green & Black’s 85%)

Preheat the oven to 180 C (fan). Grease and line a 20cm square baking tin, making sure the paper comes up the sides and there’s a bit of overhang, so the brownie will come out easily.

Combine the chia seeds with 6 tablespoons of water in a small bowl and set aside to thicken, which will take about 15 minutes. It might look gross - mine looked like a film of mould had formed on a bowl of water, hair and mouse droppings - but don’t despair, I promise, everything is going to be wonderful. You can get on with the next step while the chia magic happens!

Whisk together the melted coconut oil, brown sugar, maple syrup and almond butter (I used my Kitchen Aid with the balloon whisk) until you have formed what looks like a thick caramel sauce.

Sieve in the cocoa powder and whisk again until the batter is shiny and smooth looking.

Add in the chia gloop - you should end up with about 6 tablespoons of it, roughly. Again, whisk until shiny and well incorporated.

Then gradually fold in the (sifted) flour, baking powder, bicarb soda and salt until incorporated.

Finally whisk in the vanilla extract and apple cider vinegar.

Now you have your batter. In future, I may double the ingredients up to this step of the process so I can leave the Oreos whole and cover them with batter. That sounds dangerous, doesn’t it?

But for now, break your 10 Oreo biscuits into pieces - either halves or threes, it doesn’t matter - over the bowl and fold them gently through the brownie batter.

Pour the batter into your prepared tin and dot with the pieces of dark chocolate. You could also use vegan chocolate buttons or melts.

Put in the oven and bake for 20-25 minutes. I pulled mine out at 24 minutes and they were pretty much perfect. But you know your oven! I used the oven function on my air fryer, which is a very reliable oven. If I were using the actual oven in my kitchen, which is gas, I would be checking them at 20 minutes as it runs a little hot.

Use a skewer to test for doneness - you don’t want raw batter sticking to the skewer, but a little is fine, that’s what you want because that means they’re still squidgy in the middle and will firm up as they cool. If the skewer comes out clean, they are probably overdone. Not inedible, they just won’t be fudgy and squidgy. So if you want squidgy brownies (who doesn’t?), set your timer for 20 minutes and check them after that until you’re happy, would be my advice.

Now, this is the crucial bit. You must leave them to completely cool in the tin. No cutting the brownies while they’re still hot, in the style of Homer Simpson.

Image from The Joy of Cooking Milhouse (a bloody awesome site!)

Leave them for at least an hour, but three or four is even better. If you stick a knife into the cooled brownies and it comes out clean, then they’re ready to devour.

Lift the brownie slab out of the pan, place on a board and cut into desired-size pieces. You should get 9 generous brownies out of this, and maybe 15 delicately-sized ones.

Next time I make these, I might leave out the maple syrup - the outer brownies are quite crusty, which indicates high sugar content. I wonder if leaving out the maple syrup would make a difference. But I’m not complaining, they’re pretty heavenly regardless!

Frankly, the only giveaway that this incredibly decadent brownie is vegan might be the occasional chia seed in the teeth. And it’s totally #worthit 😍