Food and Recipes

pear and blackberry streusel muffins (vegan)

In summer and autumn, one is spoiled for choice with different seasonal fruits to use in baking - but winter?

At the start of June, I bought a large box of the last of the blackberry harvest from a local farm. They have been sitting in the freezer, added to breakfast porridge and weekend crumbles, but I wondered about using them in something else. Pears are also plentiful in the supermarket at the moment, particularly the “Odd Bunch” ones, the imperfect specimens that come into their own in cakes, bakes, crumbles and smoothies.

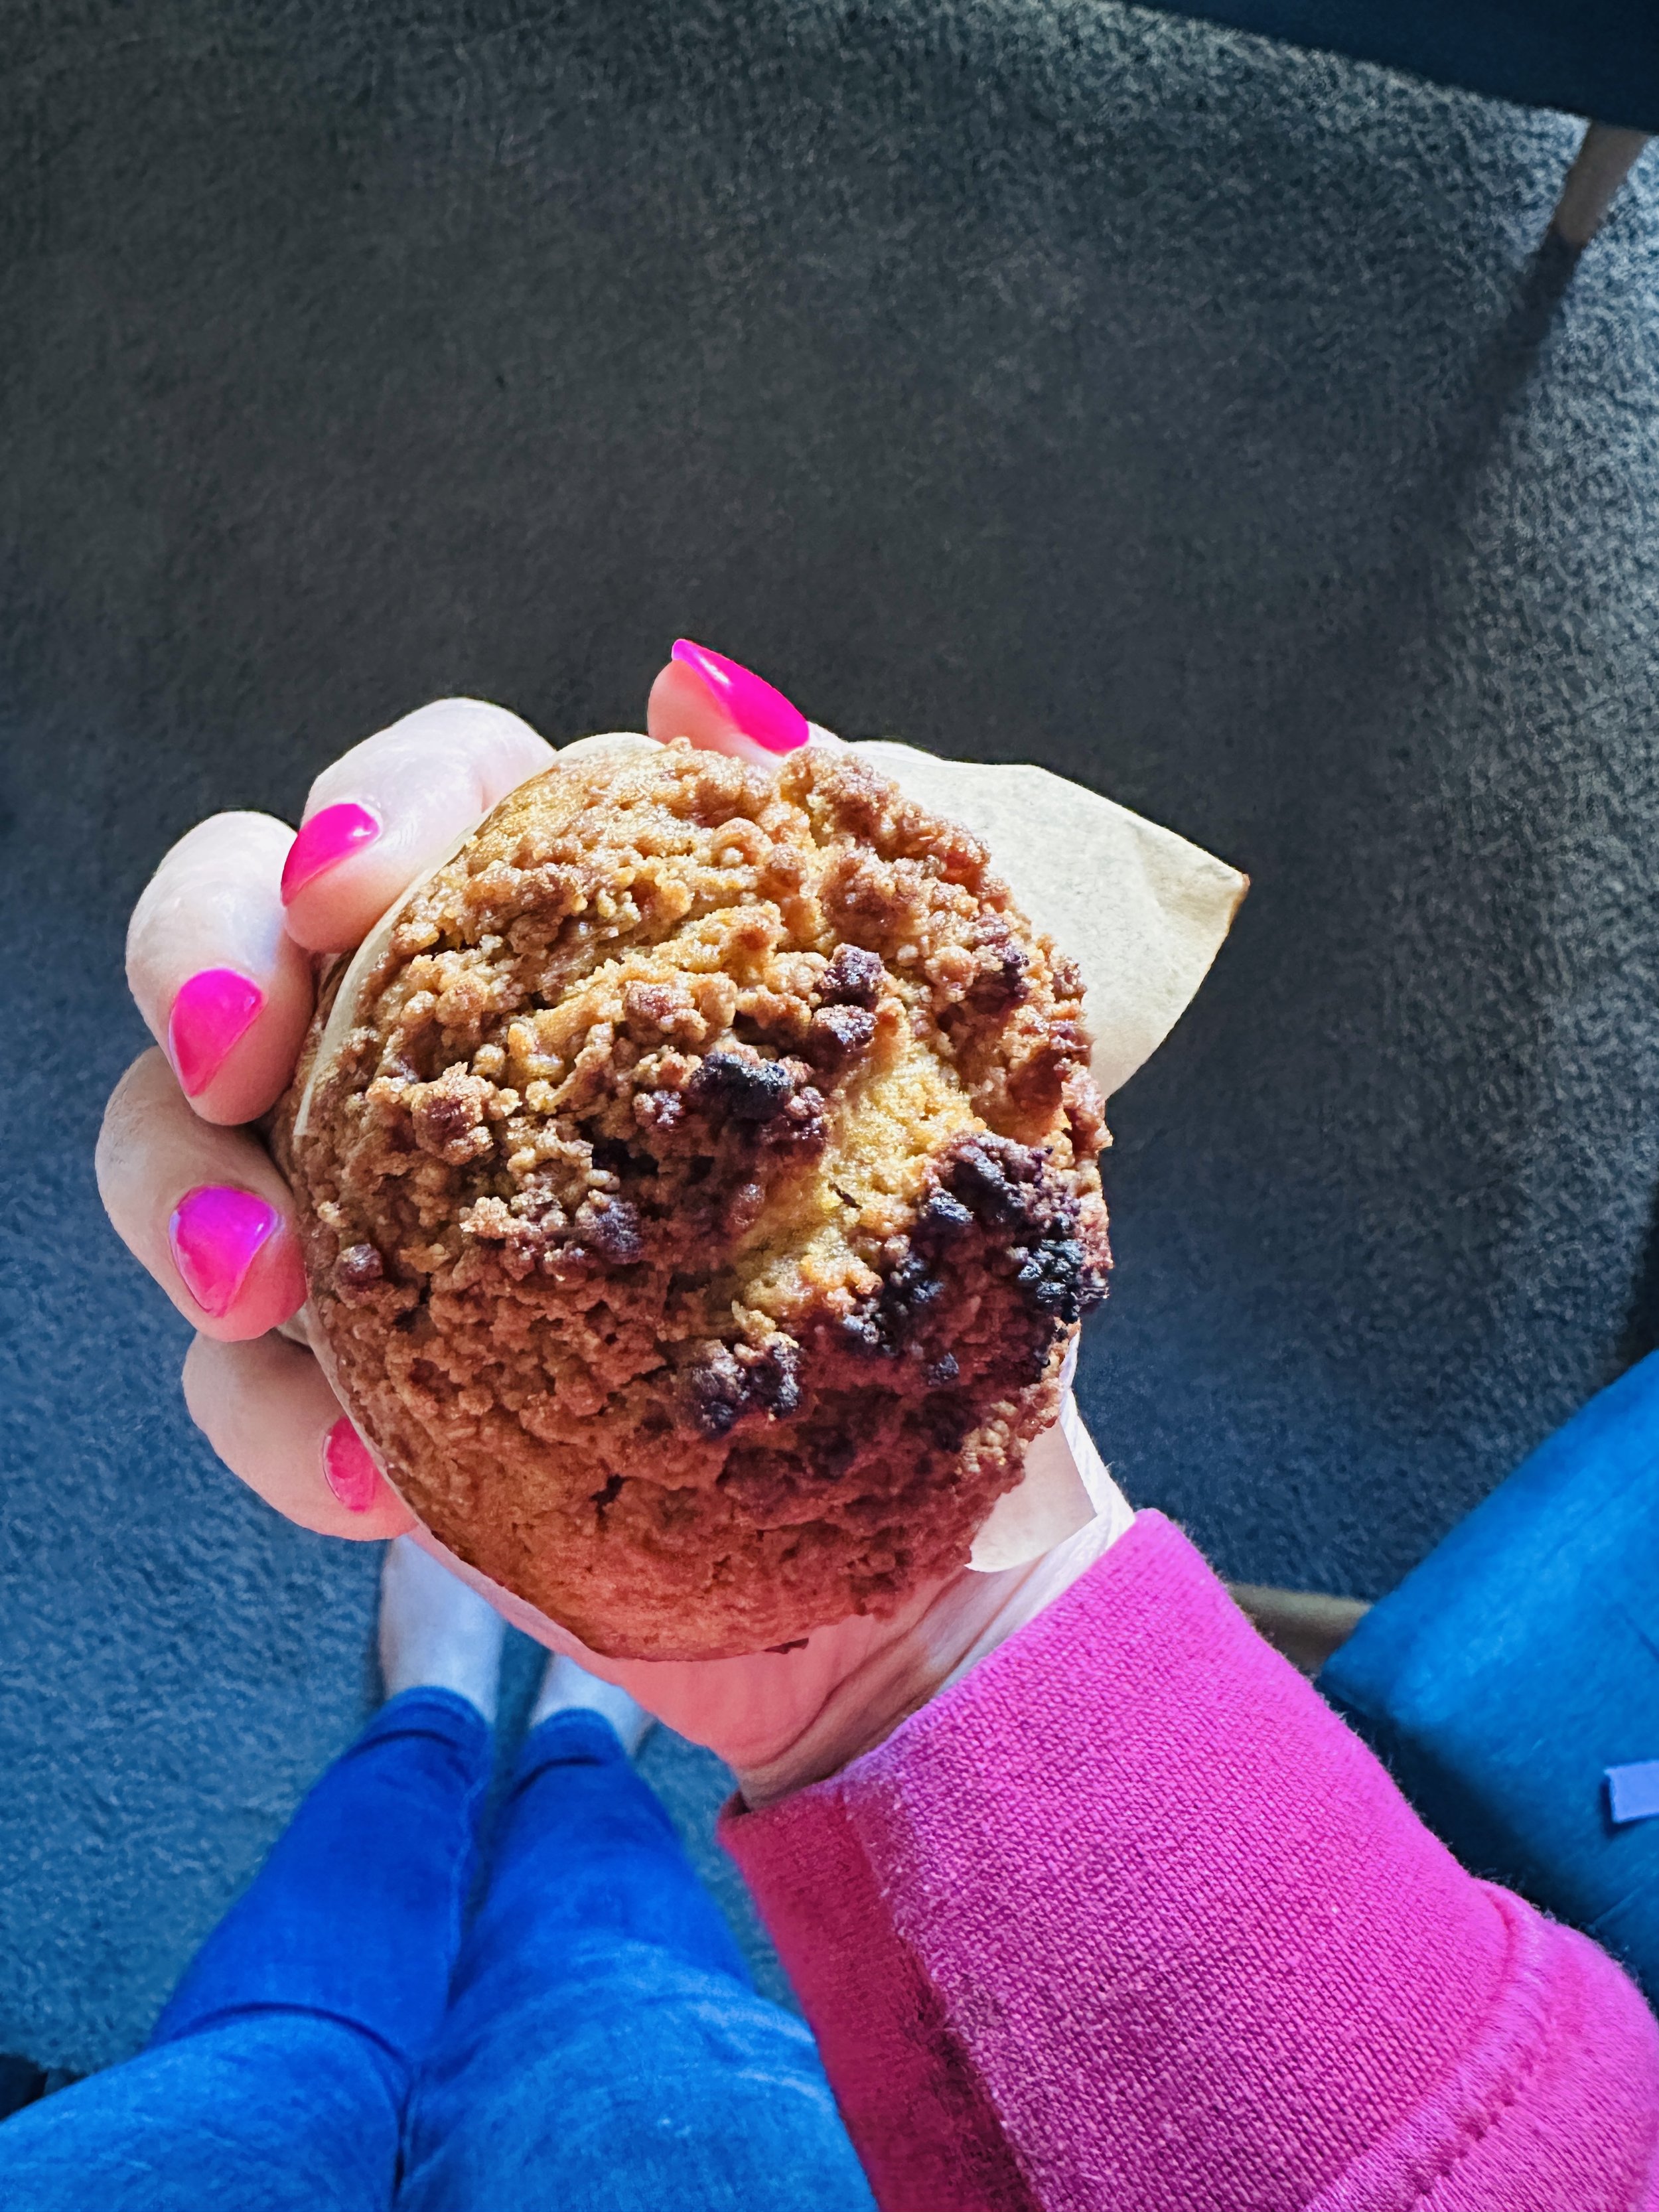
I decided to try this particular wintry (or autumnal, strictly speaking, I suppose) fruit combination in these muffins and it was an absolute winner! Sharp yet sweet fruit set in a vanilla-heavy batter not unlike birthday cake, topped with an indulgent and moreish streusel mixture. Winter elevenses have never been so tasty!

You can of course use whatever fruit you prefer - any kind of berry, fresh or frozen, would work well in place of the blackberries and you could use apples interchangeably for the pears. You could also use all pear (or apple). You want 230g in total of fruit, whatever combination you end up using.

You could also add nuts to the streusel mix if you like - walnuts, almonds, hazelnuts or pecans would be lovely. Nuts can burn easily, though, so be careful!

Pear and blackberry streusel muffins

Inspired by The Full Helping (I love her recipes!)

Makes 6 jumbo “Texas” muffins, probably 12 regular sized ones

Streusel topping

65g plain flour
50g dark brown sugar
65g cold butter (I use a vegan one called Nuttelex Buttery)
1 teaspoon ground cinnamon or mixed spice (I used a Gewürzhaus blend called Hot Cross Bun Spice, which appears to be only available at Easter) [note: only use 1/2 teaspoon if you prefer a subtler cinnamon flavour]
A pinch of sea salt

Muffins

1.5 cups of frozen (or fresh) blackberries + 1 small pear, peeled and cored (230g fruit in total)
350g plain flour
1/2 teaspoon sea salt
1.5 teaspoons baking powder
1 teaspoon bicarb soda
320ml soy milk + juice of half a lemon (or buttermilk if not vegan), combined in a large jug + allowed to sit and coagulate for at least 5 minutes
120ml sunflower or vegetable oil
170g caster or raw sugar
2 teaspoons vanilla extract


Preheat your oven to 180 C and line your muffin tin with cases/liners or squares of baking paper you’ve cut to fit.

Blitz all streusel topping ingredients in a food processor using the pulse function until the mixture is combined and resembles breadcrumbs. Scrape out into a bowl and place in the freezer until the muffin mix is ready.

Just to note, the streusel mix makes way more than you need but it doubles as a crumble mixture, so keep it in the freezer for when you next feel like a crumble and you’ll have dessert in an instant. Half the quantities specified if you don’t want leftovers but you’ll probably have to make it by hand, smaller quantities are trickier to do in a food processor, I’ve found (certainly in mine!).

Prep your fruit for the muffins - peel, core and chop the pear into small pieces and measure out the blackberries. Set aside.

Combine the dry ingredients in a large bowl.

In the large jug where you’ve measured out your soy milk and lemon juice (or buttermilk if you’re not worried about this being dairy free), you should have a slightly thick and lumpy milk now. Use a small whisk to bring it all together, and then add the oil, sugar and vanilla. Whisk well to combine.

Make a well in the centre of the dry ingredients and add the contents of the jug. Mix it together very gently with a spatula until just combined - Delia Smith recommends doing it in a slow figure of eight and this is what I usually do. It’s fine if there are a few small lumps but you don’t want to over-mix otherwise the muffins will be tough, and who wants that?

When the mixture is nearly combined, add the fruit to the bowl and gently fold it in.

A hilarious moment from Schitt’s Creek which ensured I will never be able to say “fold it in” with a straight face ever again! | Source

Once everything is combined, divide the mixture between the muffin containers - I use my favourite giant Texas style pan which yields six muffins.

Sprinkle as much or as little as you like of the streusel mixture on top of each one - I erred on the side of generous.

Bake in the oven for 25-30 minutes depending on the size of your muffins - mine took 30 minutes for a skewer to come out clean. Start checking at around 20 minutes is usually my advice, depending on how hot your oven runs. You can always put them back in for a few minutes, but scorched muffins are a sorry sight indeed!

Allow to cool - they were great warm but I enjoyed them even more a day or two later when they were firmer. Keep them in a container and I’ve found they last very well, over a week - but at that stage, they benefit from a quick warm up in the oven or microwave.

Savour them with a cup of steaming tea or coffee, and revel in the many consolations of winter.

homemade tahini muesli bars

My friend the GP reminded me of these a few weeks ago when she asked if I still had the recipe - I used to make these when we worked in the same office in London and breakfast at my desk was a regular occurrence (as I rarely feel like eating before 9am). I had not made them for well over 10 years and now I’ve made them again, I’m not sure why…they’re the perfect portable breakfast.

These brought back lots of happy memories of sharing them and working with my dear friend who I miss very much but am grateful to still be in touch with all these years later. These are for you, Zana!

homemade tahini muesli bars

Originally published on the ye olde blog skinnylattestrikesback.com! With a few 2023 additions.

Date mixture:
85g (1/2 cup) dried dates, diced
120ml (1/2 cup) water
120g (1/2 cup) tahini

420g (3 cups) toasted muesli (I like Carman’s or Arnold’s Farm - in the UK I quite liked Sainsbury’s Own) - with or without dried fruit, as per your preference
60g (1/4 cup) wholemeal plain flour
60g (1/4 cup) pumpkin seeds (pepitas)
A drizzle or two of maple syrup (or honey if you aren’t vegan)

Lightly coat a lamington tray or a 9”x9” baking pan with cooking spray, line with baking paper and set aside. Preheat oven to 180 C.

Prepare the date mixture: Place the dates and water in a small saucepan. Bring to a gentle simmer and cook for about five minutes, stirring occasionally, until the dates are soft. The mixture will be thick. Allow to cool. Add the tahini and set aside.

Mix all the dry ingredients together in a mixing bowl. Add the date mixture and a few drizzles of maple syrup (according to taste). Add a bit more tahini or water if it’s too thick or a bit more muesli if it’s too wet. It should be like Anzac biscuit mixture (or, in the UK, like flapjack mixture).

Mix to combine and press into the baking pan.

Bake for approximately 15-20 minutes - keep an eye on it and don’t let the top burn.

Allow to cool completely before cutting into bars. Cut them as big or as small as you like - mine are on the bigger side because they are a desk breakfast and need to keep me going until lunchtime. And they do!

As it’s summer here, I’ve been keeping these in the fridge so they remain chewy but they’re also perfectly fine stored in an airtight container in the pantry.

Enjoy as they are or crumbled over yoghurt, for breakfast or a healthy snack.

silken tofu summer breakfast bowl

This is the most heavenly breakfast on a baking hot summer’s morning, particularly if you’ve just been a for a run or walk and need both protein and to cool down!

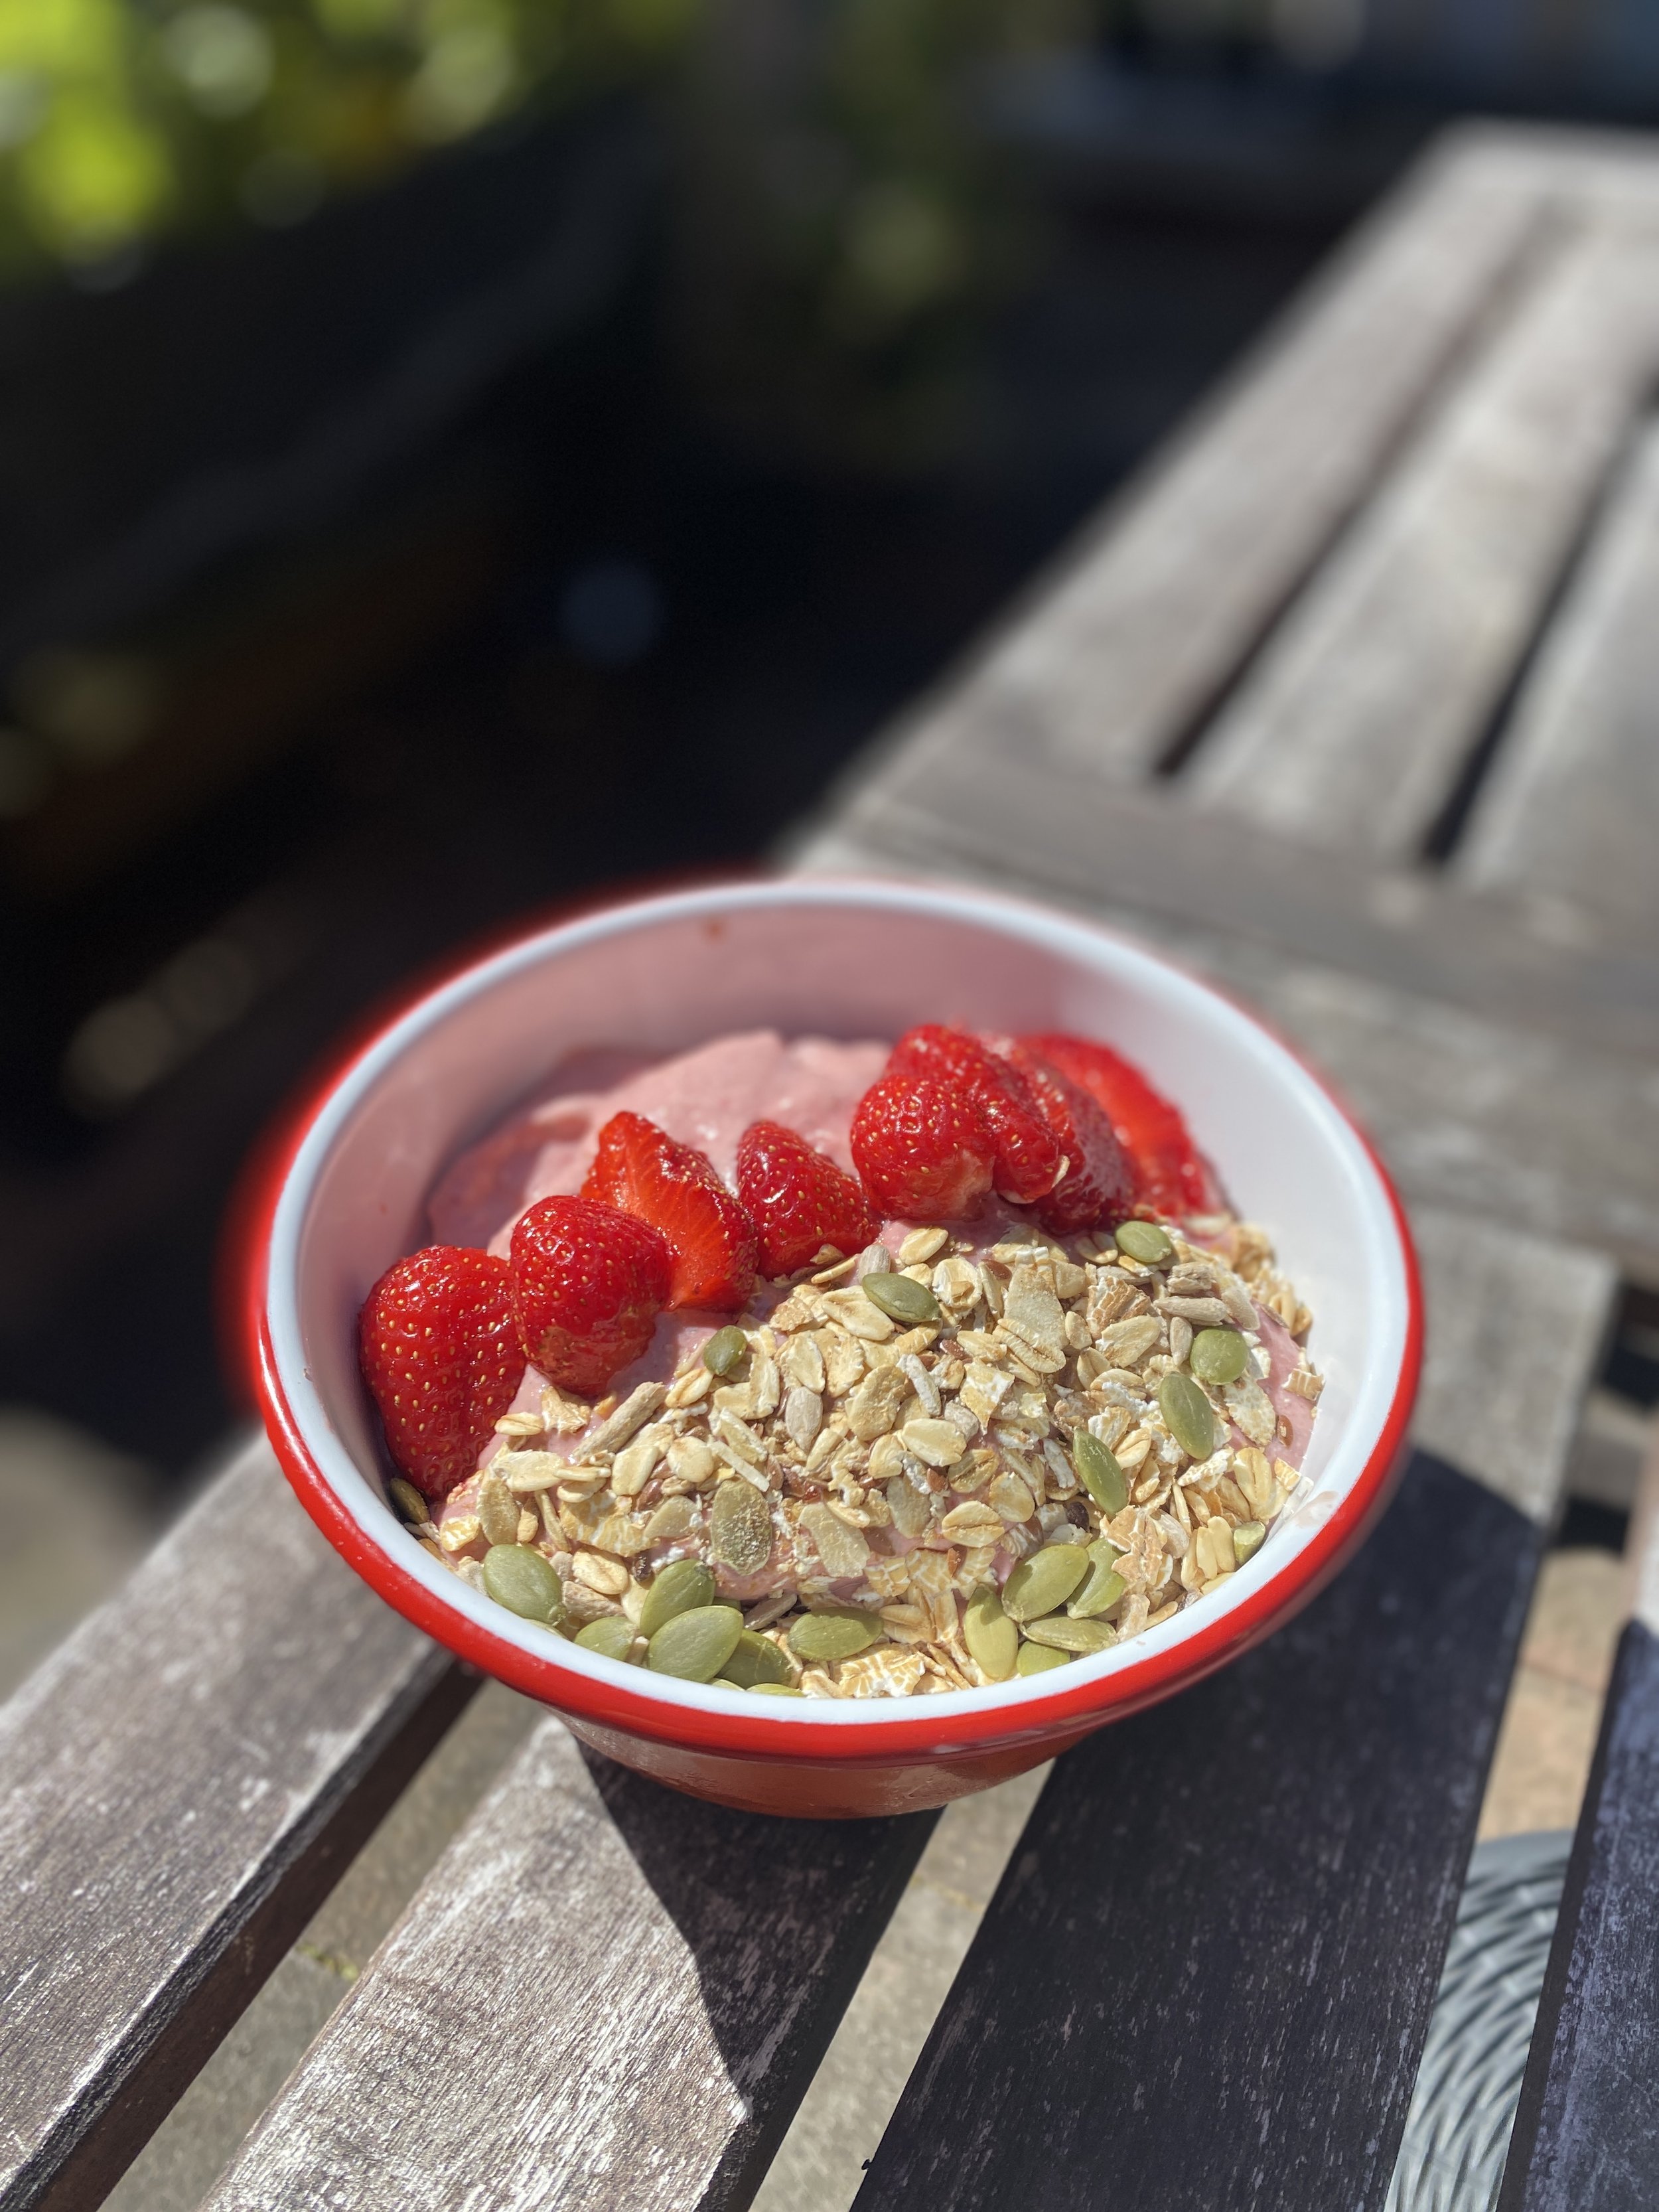
Silken tofu is the secret ingredient here, which results in a delicious and protein-rich alternative to yoghurt. You can load up your bowl with seasonal fruits and granola/muesli/seeds as you like. I tend to do a combination of both, as you can see.

The strawberries and blueberries are all homegrown, by the way!

Silken tofu summer breakfast bowls

Serves 2

1 x 300g pack of silken tofu (I tend to use Woolworths Macro brand)
150g frozen bananas
150g other frozen fruit (I most often use mango, blueberries and strawberries, but sometimes I’ve used apricots, pineapple and cherries. Alternatively just use 300g frozen bananas + handful of fresh fruit )
A handful of fresh fruit - optional - I usually put in a handful of fresh blueberries or strawberries from the garden that are fine to eat but a little wart-like in appearance
20g peanut or almond butter
Fresh seasonal fruit, to serve
Muesli, granola or nut/seed mix, to serve

It couldn’t be simpler - but you will need a powerful blender for this recipe, something that can basically crush ice. I’ve not tried it in my food processor but I can imagine it would produce similar results, you might just have to pause and scrape down the sides. My blender came with a special prodding stick, so you can “stir” the mixture as it blends, if anything gets stuck (and it usually does).

Open and carefully drain the excess liquid away from your silken tofu. Don’t worry if there’s still a little bit. Once you’ve done this you can either invert it on to a plate, or leave it in the container (which is what I do!), and use a small sharp knife to cut the tofu into rough cubes.

Place the silken tofu cubes in the blender first, and then add the rest of the ingredients. Adding the tofu first really helps the mixture blend better, as it turns to liquid that then draws all the other ingredients in!

If you have a digital scale, it’s even easier. I just place the empty blender jug on the scale, add the silken tofu, then reset the scale to zero and add the rest of the ingredients.

A note on the fruit: use whatever you’ve got and enjoy the combination of. It’s important that at least half the mixture is frozen fruit, as the more frozen fruit you use the thicker it will be (and I like it thick so I mostly use all frozen fruit with a bit of fresh as an extra). I only tend to buy frozen fruit when it’s on special, as it’s quite expensive these days. When bananas are in season and cheap, I buy several kilograms and freeze them. That way, I always have some frozen fruit on hand for a smoothie or for this breakfast bowl.

Place the lid on and blend until the ingredients become a thick smooth mixture, a bit like soft ice cream. If you have a prodding stick, like me, you can keep the blender running and prod the pesky bits from the sides (but be careful!). Otherwise, pause and scrape down the sides of the blender as needed. If it’s not blending, stop, and rearrange the ingredients, maybe add a touch of water or soy milk. As mentioned, adding the tofu first seems to avoid this.

Stop once everything is well combined and there are no remaining chunks of unblended frozen fruit. Keep an eye on it because if you like it thick, you’ll want to stop once everything is blended - the longer you blend, it will lose its thickness.

Once ready, pour (with the assistance of a spoon/spatula) into two waiting bowls (which you could also have chilling in the freezer, if it’s a particularly hot day).

Scatter the top with fresh seasonal fruit and muesli/granola/nuts/seeds. Eat!

Best enjoyed sitting in your garden in the sun, soaking up the delicious headiness of summer. Memories of winter porridge will feel very distant indeed.

And I promise you, you can’t taste the tofu!

vegan gingerbread truffles

I made these as gifts for our clients, neighbours, friends and family at Christmas and they were a HIT!

I was inspired by this Fix and Fogg recipe, whose nut butters I’m a huge recent fan of, but I had some Biscoff spread I wanted to use up, to make these slightly more indulgent for Christmas. I had planned to make the entire recipe with Biscoff but ended up not having enough, so made up the difference with peanut and almond butters (I’ve written the recipe as 50/50 but my batch was more like 60/40). As long as you have 2 cups in total of spreads (you can use all the same one if you prefer), that should be fine! They still managed to taste pretty healthy though (to my mind!). This is also the perfect opportunity to use up any special Christmas pudding/cake spice mixes you might have lying around. Anything cinnamon-based will be delicious here.

Everyone loved these truffles and I will be making them again for a healthy(ish) treat to have around the house for the rest of the summer going into autumn. I highly recommend keeping them in the freezer if it’s warm where you are, as they do grow soft quite quickly!

Vegan gingerbread truffles

Makes between 45-50 truffles, depending on size! I got 48.

1 cup medjool or dried dates + boiling water to cover
2 cups rolled oats
3 tablespoons pumpkin seeds (pepitas) or pistachios, (optional, they just look lovely!)
1 teaspoon sea salt
4 teaspoons ground cinnamon or a Christmas/pumpkin pie spice blend you might have (I had some Gewurzhaus St Nicholas Spekulaas which was really delicious here!)
3 teaspoons ground ginger (you could up it to 4 teaspoons if you want a strong ginger flavour)
1 cup Biscoff spread
1 cup other nut butter (I used a mixture of almond and peanut)
2 tablespoons molasses or black treacle (molasses is a great iron source!)
2 tablespoons water
2 teaspoons vanilla extract

Coating:

200g dark chocolate 
5 tablespoons coconut oil
A sprinkling of demerara sugar (optional)


Soak the dates in boiling water for five to ten minutes until softened. 

Place the oats, pumpkin seeds/pistachios (if using), salt and spices in a food processor and pulse for about 20 seconds until combined.

Drain the dates and add them to the food processor together with the spreads, molasses, water and vanilla. Process again until well combined, pausing to scrape down the sides as necessary. It should be sticky and holding together well. If it’s too dry add a bit more water. If it’s too wet, you can add some ground almonds.

Roll the mixture into small balls and place on a large baking tray. Place them in the freezer for an hour to firm up.

Meanwhile, melt the dark chocolate and coconut oil together gently either in the microwave or on the stove using a heatproof bowl. Make sure it’s combined and then take it off the heat. Allow to cool only very slightly, as you need the mixture to be liquid for dipping the truffles.

Retrieve your truffle tray from the freezer. Get another empty baking tray and line it with baking paper. Using either a teaspoon or a strong toothpick/bamboo skewer, dip each truffle into the melted chocolate mixture, coating all over, then place back on the tray. Repeat until all the truffles have been dipped. The first truffles may get a more generous coating than the others, that’s just the way of things! Save those as a cook’s treat.

If liked, sprinkle the truffles with demerara sugar before the chocolate has set. Return to the freezer or fridge to set completely, at least overnight but ideally for a few days before you need them.

Enjoy straight from the fridge or freezer, all year round! Perfect to serve with coffee, in the morning or after dinner.

Bún Chả Giò Chay (Vietnamese rice noodle bowl with spring rolls)

This is one of my favourite summer meals. You know when you’re in the middle of a heatwave and the idea of turning on the stove makes you feel exhausted and even hotter, but you’re also wanting a fast, nourishing warm (ish) dinner? This ticks all the boxes.

I can’t claim this is an authentic Bún Chả Giò Chay as it very much changes every time I make it, depending on what vegetables I have in the fridge that need using, but it’s certainly delicious. Full of vegetables, refreshing, tangy and spicy. Absolutely perfect for those CBF-ed evenings and it’s also faster to put together than waiting for roughly the same thing from UberEats!

Bún Chả Giò Chay (Vietnamese rice noodle bowl with spring rolls)

Serves 2-4 (well, the two of us with leftovers for one)

200g dried rice vermicelli noodles (usually they are dried in individual nests so use 4 of those if so)
1 large or 2 medium carrots, julienned
Any other raw vegetables you have - I usually use cucumber cut into thin strips, red capsicum (pepper) cut into thin strips, whole or halved raw sugar snap peas or snow peas, julienned zucchini (courgette), and/or green beans - a small amount of each or a large amount of one will do!
1 cup cooked frozen green peas, baby green beans or edamame beans (optional)
A handful of spinach leaves, shredded
Vietnamese mint, as much as you like, roughly chopped (ordinary mint is fine but Vietnamese is wonderful if you can get it - I often use both as I love mint in savoury dishes)
Chives or the green part of spring onions, as much as you like, finely chopped
Any other soft green herbs such as coriander, Thai basil, etc that you might have, finely chopped
1 fresh red chilli, finely sliced (take out the seeds if you don’t want it too spicy)
12 mini frozen vegan spring rolls (in the UK I remember you could sometimes buy spring rolls in the chilled section of Sainsbury’s, ready cooked, so that’s even more of a time saver!)
Seeds (linseed, hemp or pumpkin), to sprinkle over to serve (optional)

3 heaped dessertspoons (roughly 60g) peanut butter or tahini (or see tip below)
2 tablespoons soy sauce or tamari, plus extra to serve
1 tablespoon maple or brown rice syrup
1½ tablespoons rice wine vinegar or lime juice (sometimes I use both)
Water to loosen
Extra lime juice to squeeze over
(it wouldn’t be the end of the world if you doubled the sauce ingredients and saved any leftovers in a clean jar in the fridge for a stir fry or to dip dumplings into later in the week, just saying)

Boil the kettle and put your spring rolls in the oven or air fryer to cook.

Place your rice vermicelli noodles in a large bowl. Pour boiling water over and leave to soak and soften. Perhaps set a timer for 5 minutes so you don’t forget!

While the noodles soak and the spring rolls cook, prepare the vegetables if you haven’t already. Assemble the vegetables, chopped chilli and herbs in large serving bowl.

Drain the noodles and rinse briefly under the cold tap. Shake well and leave to cool and drain thoroughly while you make the sauce.

For the sauce, I find the easiest thing is to put everything in an empty clean jar and shake vigorously to combine. As making jams and chutneys is a hobby of mine, I always have a jar hanging around!

In your jar (or bowl), place the first four sauce ingredients, and then determine if more liquid is needed - I usually pour in a little water from the kettle which, at this point, will still be hot but not boiling, which is good for loosening the peanut butter.

Speaking of which, I discovered this AMAZING peanut butter at the supermarket the other week and it is fantastic for a dish like this. It’s made in New Zealand and has wonderful smoky, spicy notes of paprika and chilli. Good news, looks like you can buy it wherever you are in the world! Highly recommended.

Put the lid of the jar on securely and shake, shake, shake until well combined. You might need to add some more water (or lime juice) so it’s not too thick. You want it the same consistency as a salad dressing. Err on the side of thinner rather than thicker.

Right, now it’s time to bring everything together. Get your drained noodles and add them to the bowl of vegetables, chilli and herbs. Pour over the sauce and then toss together with tongs or salad servers until well combined.

Prior to tossing!

The noodle salad can be left for five minutes or so until the spring rolls are ready. If your spring rolls are longer than that away, I would add the dressing when they are almost done.

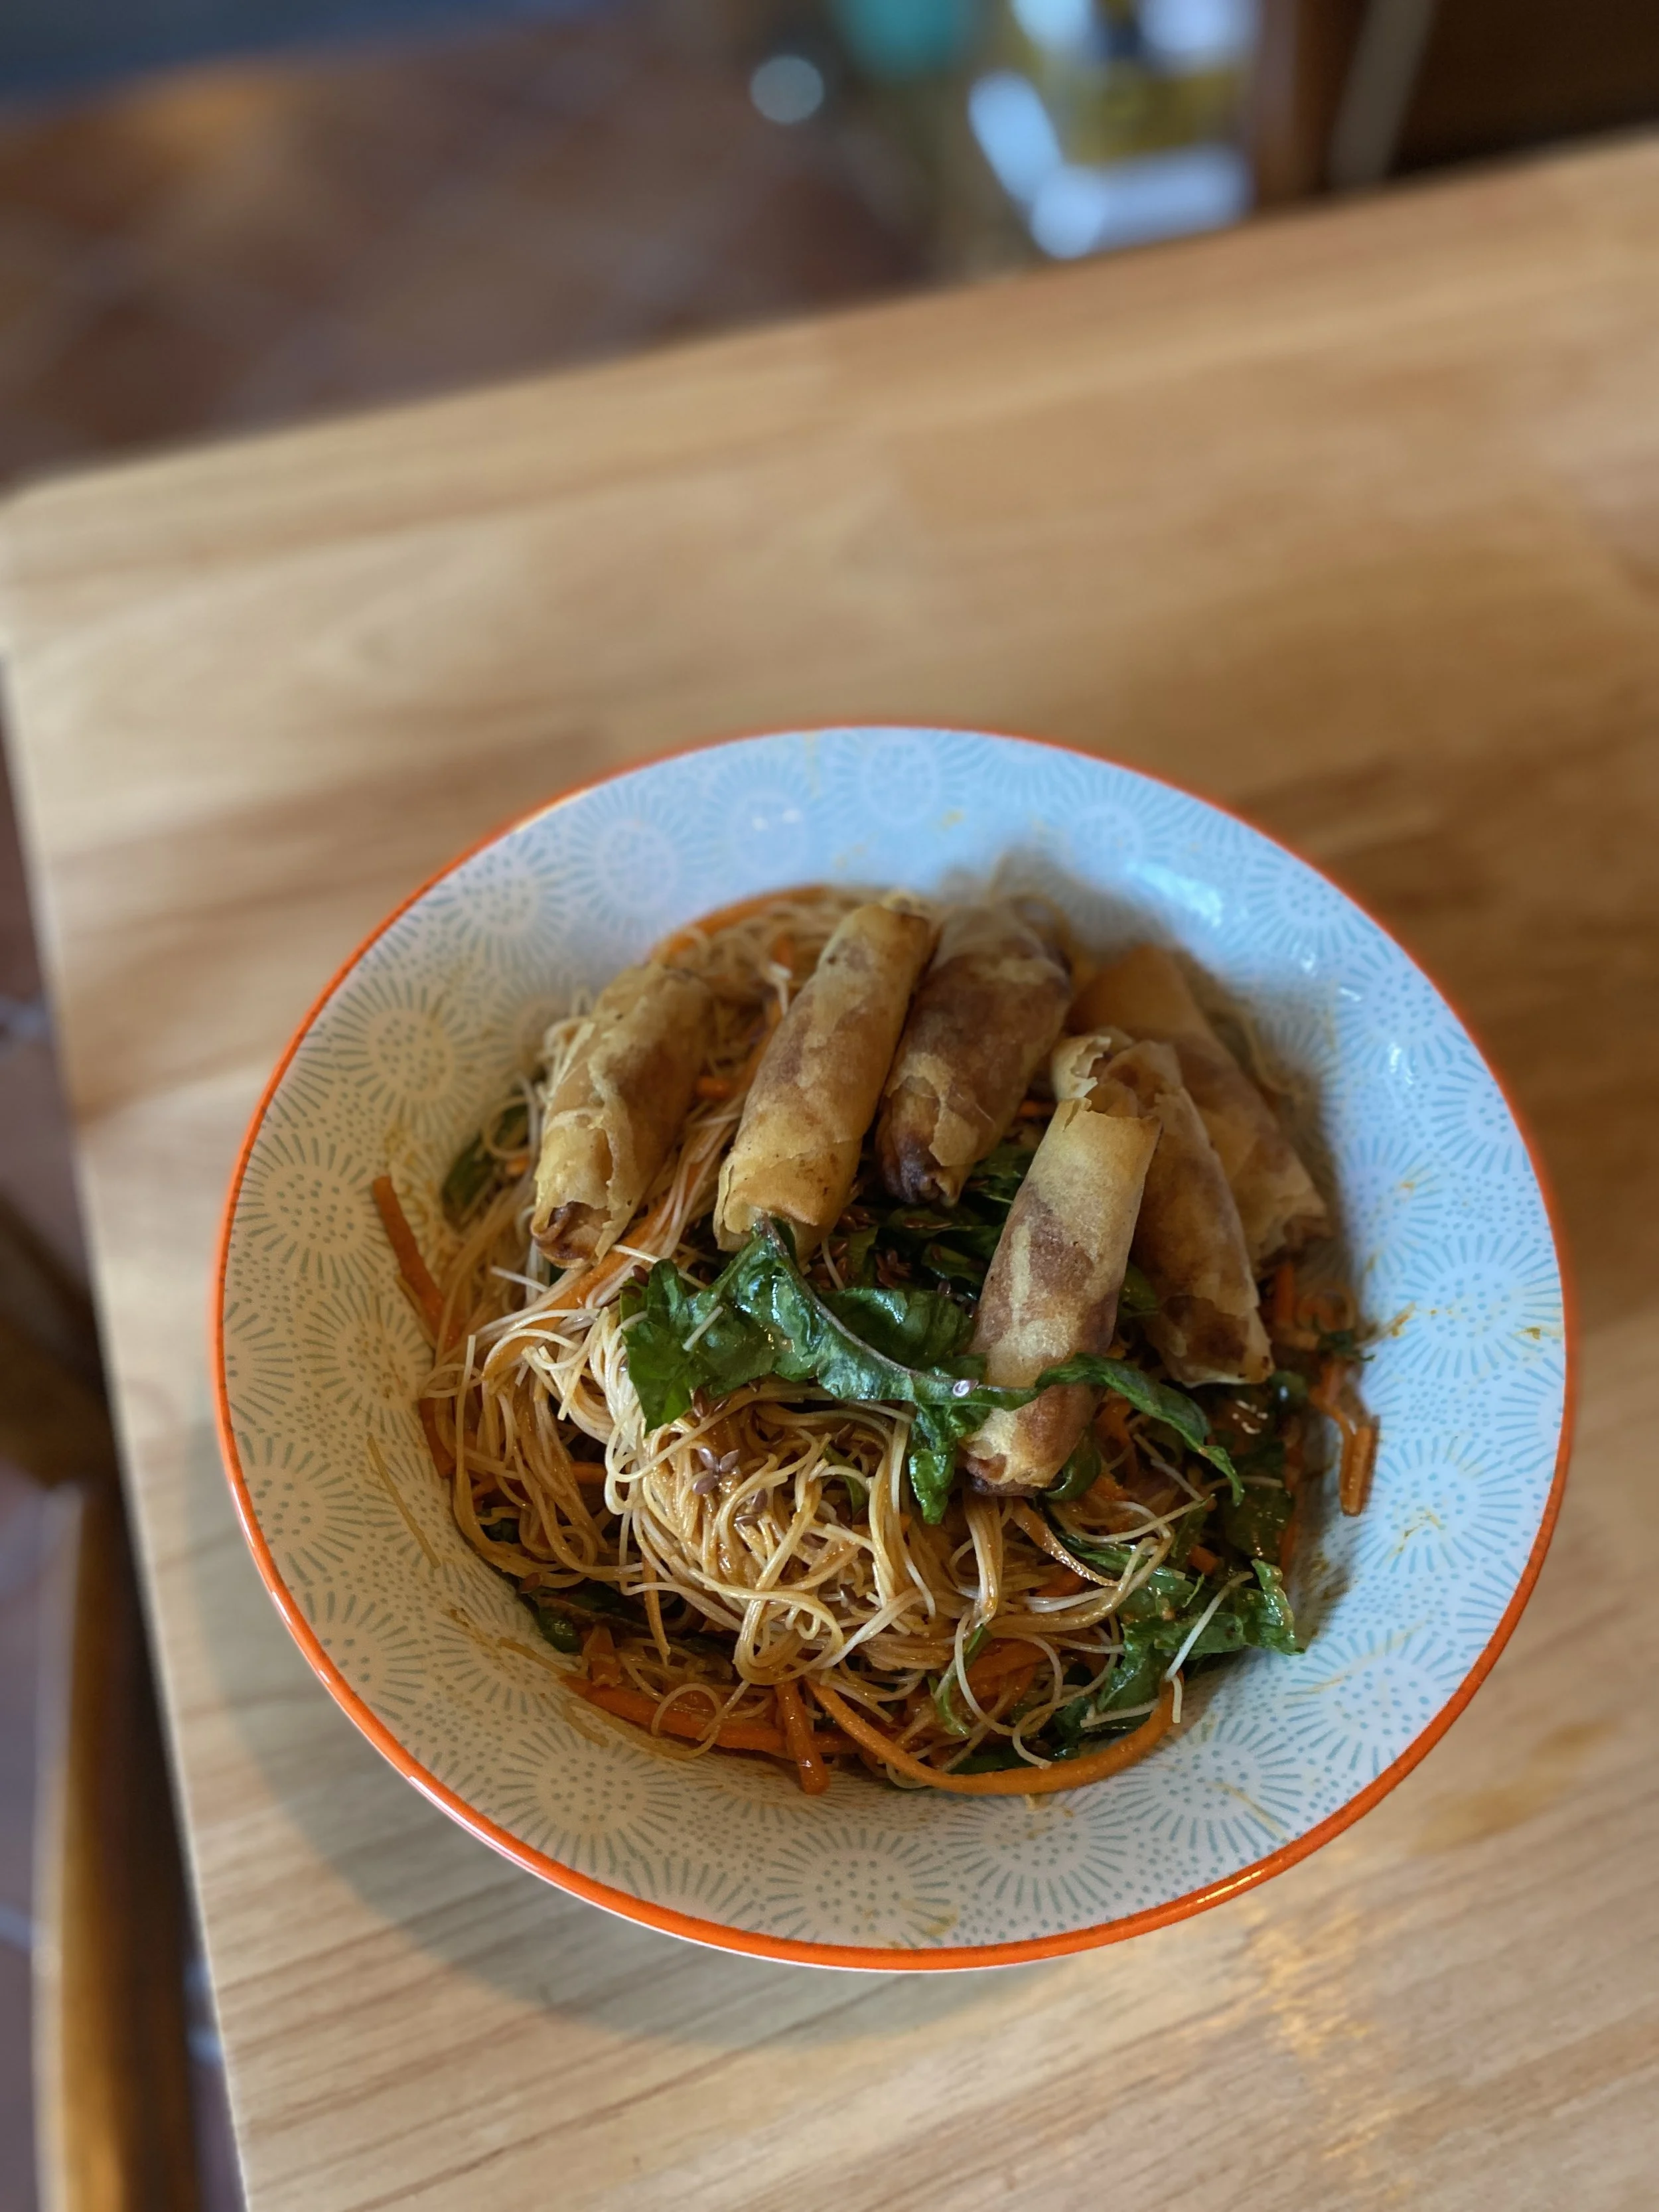
Allow your spring rolls to cool slightly once they’re out of the oven or fryer, then cut each one in half (I forgot to do this in the one pictured - it’s much nicer when they’re cut in half rather than left whole, I think!)

Place a serving of noodle salad in a bowl and top with pieces of spring roll. You can sprinkle with some seeds or nuts for crunch, some extra fresh chilli or a drizzle of sriracha if you like it hot, or a squeeze of lime juice. You can also add more soy sauce, depending how salty you like it.

Enjoy outside as the sun goes down or in front of the TV with a cold beer! And be prepared to fight over who gets the leftovers for lunch the next day.